Home About Me Privacy Policy
Showing posts with label Gardening. Show all posts

Our Growing Gardens

Our gardens are in full bloom, and I am so excited to get food from them soon. Last summer, we built raised beds for vegetables, fruits, and herbs. If you missed them, you can see them here and here

The cucumbers were calling my camera, so I had to take some pictures. This is what we have to look forward to...
These are our cucumber plants growing up the trellis. Ryan chose regular and pickling varieties so that we can can (hehe!) our own pickles this year. He made some a couple years back, and they were so good. Since I've taken these pictures, we have some that are almost ready to pick. I can't wait!

Here are some of our other spoils.

Veggie Stir-Fry

This is an easy one!  We had a bunch of vegetables from {Ryan's garden} that we had to use.  I always think that I'm going to get creative and make something fancy.  I wasn't feeling it tonight, so I just chopped, threw it all in a big pan, drizzled olive oil over the veggies and cooked them up.  The vegetables included orange and green bell peppers, cherry tomatoes, okra, and onions.  The onions were the only thing we don't grow.  I added some thyme from {my herb garden} after reading that it pretty much goes with anything.
I served the veggies with baked sweet potatoes, also from Ryan's garden, and marinated chicken.
We quickly learned that okra shouldn't be cooked this way!  Everything else was delicious!!

Dressing Up Pizza

One of our staple dinners for Friday night is PIZZA!  We save money buying frozen pizzas and making them ourselves.  For less than the price of one take-out pizza (about $10), we get four frozen cheese pizzas from Costco.
The pizza alone is really good, especially for the price.  But I'm always looking to add fresh produce to our meals for a few reasons:

  • They're healthy for us.  
  • I want the boys to be exposed to new foods.  
  • It makes the pizza a little more filling with extra toppings.

The most common topping we do in our house is tomato slices, fresh basil, and extra mozzarella cheese (I love cheese!).  I chop up the basil, because the boys are less likely to eat it as whole leaves.
Yum!  Some other variations we do include adding fresh oregano, chopped and sprinkled across the top.  My husband also likes adding bell peppers with the tomatoes and basil.  

Tacos Using Garden Staples

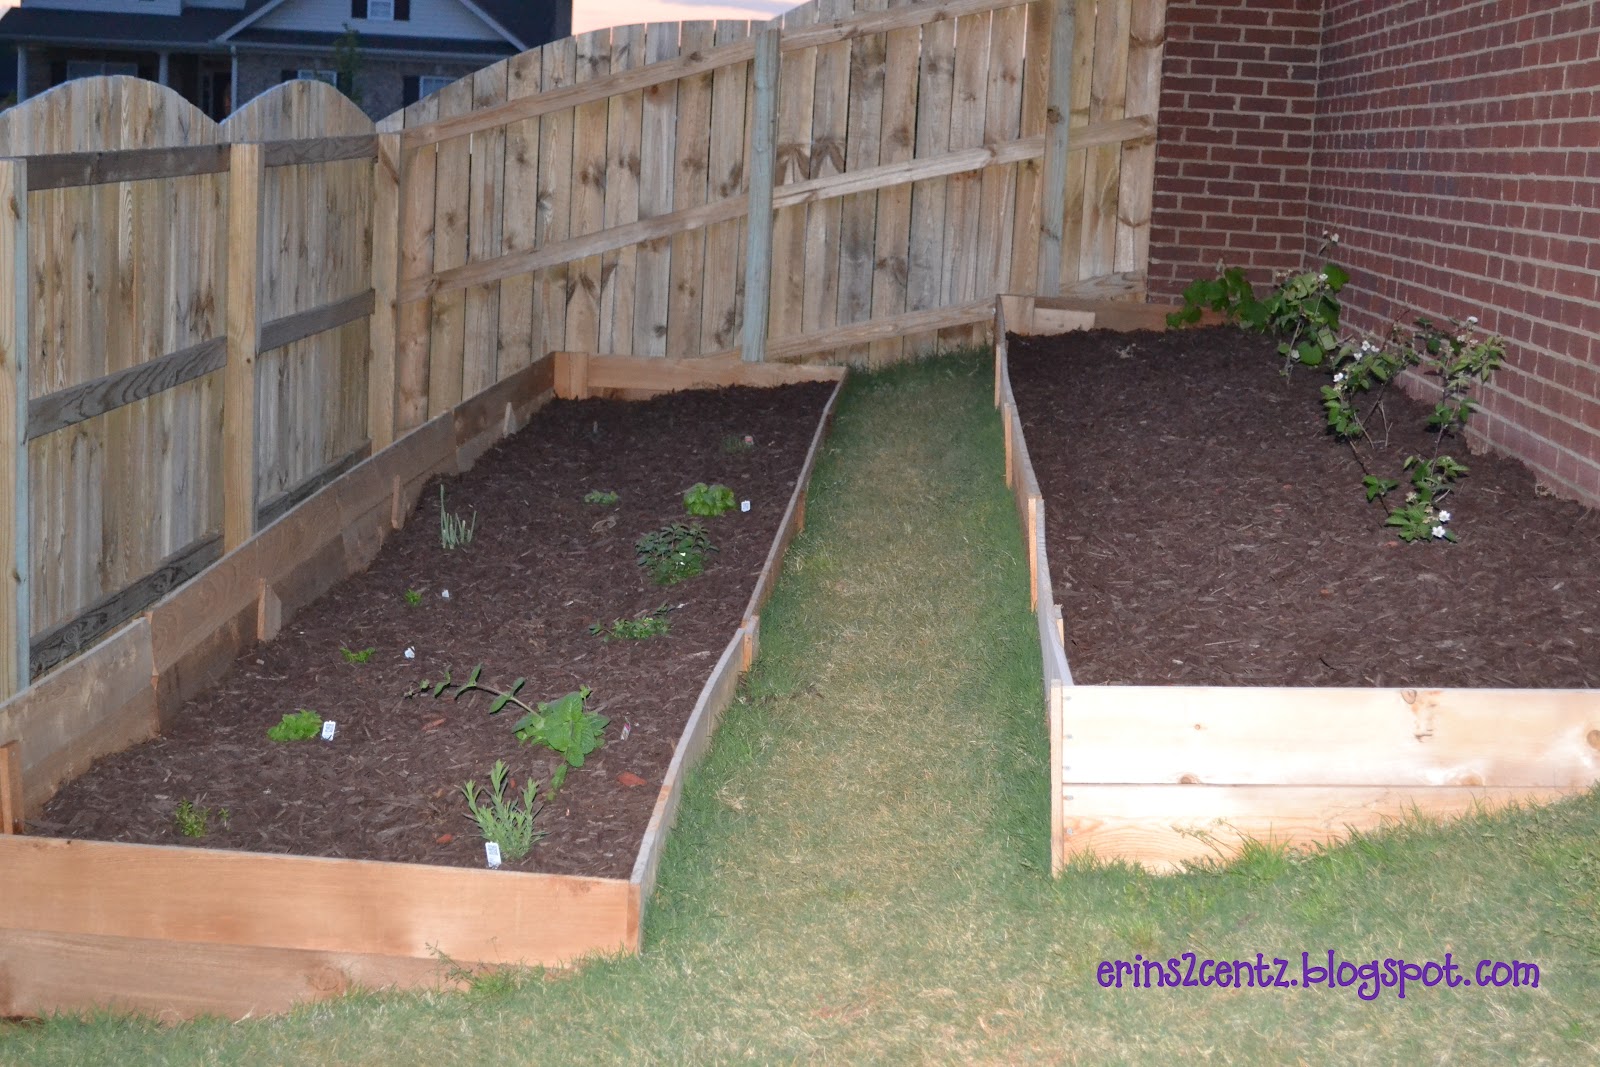
One of my friends suggested that I share some of the recipes that use my herbs and vegetables from our gardens.  Go {here} and {here} to check those out.  Of course, they look nothing like that now!  You can't even see the mulch because the plants have taken over.
While this is not an actual recipe, it is an easy way to use what you have grown (or buy from the store if you don't have a garden).
We do tacos and burritos on a pretty consistent basis in our house.  I have started using the recipe for Deceptively Delicious by Jessica Seinfeld, but you can do this with any taco meat.  

My boys know that pureed carrots are mixed in; it's my husband that I have to try to trick!  I also use ground turkey that I previously cooked in bulk and froze.  Go {here} for tips on that.
One of the suggestions she made was allowing the children to put their own toppings on their tacos.  Jackson can do it by himself, but we still assist Brady.  While they don't pick everything, they are more likely to eat their dinner because of the part they took in making it.
She has a list of suggested toppings, but I just use  whatever we have from the garden and in the fridge.  All of it goes on a tray that is easy to grab from while at the dinner table.
This tray included green onions, yellow and green bell peppers, and tomatoes from the gardens.  Those items were free, and we like free!  I also added corn that was left over from a previous meal, lettuce, salsa, and of course cheese.
The night we had this, I must have gotten the hang of the meat recipe, because everyone was gobbling their burritos down.  That included my husband, who is always skeptical when I use pureed veggies.
What other toppings do you use that your children like adding to their tacos and burritos?

Herb Wreath

I am loving the benefits of having our {herb garden}!  In a {Home Made Simple} pamphlet, they had directions to make an herb wreath.  Their directions called for a wreath frame and floral wire, and I was thinking more along the lines of using what I already had in the house.  This is what I got:
Unfortunately, I still have not learned to take pictures of what I'm doing step by step, because I never know how they will turn out.  So I'll just break down the steps for you.
  1. Use a wire hanger, and bend it into a circle.  I left the hanger part alone, because I figured I could use it to hang up the finished product.  Depending on where you will hang it, you might want to bend the hanger part back a little bit.
  2. Cut fresh herbs from your herb garden (or buy some at the store).  I used mint and lavender for this one, but you can pick any that give off a nice aroma.
  3. Arrange them in bunches of 3 to 5 branches and tie them together.  I used clear fishing line, because that's what I had on hand.  The original directions called for floral wire.
  4. Use the fishing line or whatever you're using to tie the bunches to the hanger loop.  I also wrapped some of the branches around the wire to make them a little more secure and hide the wire.  Once you like how it looks, trim any extra string.
  5. Find a nice place to hang it!
The mint quickly dried out, but it still looks nice.  Depending upon the herbs you choose to use, you could get a longer life out of your wreath.

Let me know if you try this!

Linked with: I Heart Nap Time, Positively Splendid, Heatherly Loves, Kayla Creations, Debbiedoo's, A Stroll Thru Life , The Thrifty Home, Beyond the Picket Fence

Herb Garden Update

Summer is in full swing at our house.  I now have my 4-year-old home from preK and my husband home from teaching 6th grade.  This is in addition to already having my 3-year-old at home.  Entertaining 3 boys is exhausting!
We have been busy {yard saling}, visiting {Goodwill}, working on projects, and {gardening}.  Ryan picked his first tomato today!
Here's an update on my herb garden, which is coming in nicely for the most part.  If you missed the post about building it, check it out {here}.
We have really enjoyed the benefits of having this bed in our yard.  We've made tomato basil pizza, used green onions in our tacos, used oregano and parsley in our pasta sauce, and more that I've already forgotten.  I've also been able to make sweet mint tea with the different varieties of mint.  Yum!

If you're interested in the mint tea, here's the recipe for 2 quarts:
1 quart boiling water
1 quart cold water
4 black tea bags (I use whatever I have from {couponing}.)
mint leaves (I use about 10, but choose how strong you want it.  You can pick up mint at a farmers' market or grocery store if you don't have a plant at home.)
1/2 to 3/4 cups sugar depending on your taste
  1. Use a muddler or crush mint leaves and put them in the bottom of a pitcher.
  2. Place tea bags in pitcher.  Pour boiling water into pitcher.
  3. Allow tea to steep.
  4. Pour cold water into pitcher.
  5. Remove bags.  You can strain out the mint leaves, also, but I find the flavor is stronger if you leave them in.
  6. The mint flavor will become stronger as it soaks.

Planter Made From Ash Bucket

I bought an ash bucket at a {yard sale} for $2.  It was dirty and still had a little bit of ash in it, but I immediately envisioned flowers sprouting from the rim.
I needed drain holes in the bottom, and apparently these are normally drilled into it.  My husband has had late football practice, and I am too impatient to wait around for him to have a chance to help me put some little holes in the bottom.  I grabbed a hammer and nail and got busy. 
It worked like a charm!  Make sure to turn the bucket over and hammer the nail in through the bottom so that the sharp edges will be sticking into the inside of the bucket.
I then took a coffee filter to line the bottom and keep the dirt from falling through the holes.
Now it's time to plant!
Voila!  My "new" planter for our entrance way.

Window Baskets

Can you tell we've been working a lot in the yard?! 
These window baskets were one of my favorite purchases!  I found them at a {yard sale} last year for $1 each, and they were the perfect size for our windows in the backyard.  I found liners for them at Walmart.  My dad helped me hang them in our master bedroom windows.  We used special screws to hold the baskets in the mortar.
I then used impatiens we bought at $1.25 for a six-pack.  I really like how it turned out, and it adds a little color to our backyard even though we haven't added flower gardens to this area yet.
How do you spruce up your outdoor areas?

Herbs and Berries Garden Boxes

We have finally finished all of our projects in the backyard that we set out to do this summer!  My big focus was our herb and berry garden on the side of the house.  Check out here to see the details of building the boxes.

Our Vegetable Garden

We finished Ryan's vegetable garden this weekend.  Now we get to sit back and watch the veggies grow!
He started by making three raised beds.
Then, they had to be filled with dirt.  If you haven't figured this out yet, I don't like to spend money when I don't have to.  Across the street from us is a nice little dirt pile from the hole they dug for a new house.  It was calling my name!  (Well, Ryan's, and he wasn't too happy about it.)
He still added the good kind of dirt (a.k.a. not free) to make sure that our plants would be successful.
We added tomatoes, peppers, and sweet potatoes.  He still has a whole bed for more plants.  A tip I learned from Ryan: Look for the plants at the store with double stems.  It's usually two plants.

After we did all of the planting, we added fencing around it to keep our dogs and boys out.  Eventually, we plan to get something nice, but this will do for now.
I got the idea to use wine corks and skewers as markers from {My Chic Life}.
I can't wait to be able to pick our first veggies!
What are you planting this year?

Garden Boxes

Ryan and I have been hard at work while he's home for spring break.  We are building our gardens!  Since we just moved here last year, we haven't done any landscaping.  We did accomplish a huge feat last year with the building of the boys' swing set.
I have a whole list to accomplish, including {Ryan's vegetable garden}, {my herb garden}, a flower garden, mulching around the boys' play area, transplanting bushes from the front, and on and on. 
Because we're on a budget, we have to pick and choose what to do this year.  The most important to me is what can save us money.  That would be Ryan's vegetable garden and my herb garden.  It does cost money up front, but the benefits are wonderful.  At our old house, Ryan was able to can enough tomato sauce and salsa that we never had to buy any from the store for the whole year.  And the best part is knowing exactly where the ingredients came from.
We started at Home Depot.  I found {plans from Ana White Homemaker} that got me started.  She recommended using cedar fence posts instead of the regular cedar boards, and it saves a TON of money.  We borrowed my dad's truck to cart it all home.
Next was building it all.  We are using the boxes to landscape a side yard with a dangerous slope to mow, so it was a little tricky.
We got the hang of it, though, and it took us about half a day if you take out the boys' "help" and nap time.

ready to help!

halfway there

all done with the boxes

We were especially proud of how the side turned out with our ingenious cutting.

The boys cooled off after a hard day with a super soaker battle!
Now all we have to do is fill them with dirt and plant the herbs.  We are also going to eventually add pathways that don't require mowing.  We are also going to put Ryan's vegetable garden together, which should be easier than this project (fingers crossed!).


PDF Print